


Underwraps are a clean and attractive way to add some protection along with a little bling to any custom rod build.
Why do we even consider using and underwrap you might ask. Well, for larger offshore rods where you have double foot guides or even roller guides, these can exert force down onto the rod blank, so we try to protect the blank from damage. For many builders who might only build bass, light inshore, fly or ultralights, you may never see the need to use an underwrap, but that doesn’t mean you can’t.
Also, you will see many underwraps with thread and although this blog will be directed to the when, why and how to use thread for an underwrap, you can use many other things. From abalone to snakeskin and even marbling, almost anything you use to shield the rod blank from the guide feet can be considered and underwrap.
Blog Bonus points if you take a sip of a cold beverage every time I type underwraps.
Let’s jump right in to setting up an underwrap. I am using a double foot guide and will show how I set up my measurements for a plain basewrap and one with a trim band set into the basewrap.
What Thread?
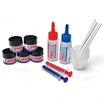
Well, this topic always gets plenty of press when starting down the road of underwraps. There is a slight caveat to choosing thread if you prefer to put finish on your underwrap before adding the guide and overwrap. Now, when I say adding finish, I mean a thin coat of rod finish that is allowed to completely cure hard before wrapping the guide. I did not want anyone to assume you add finish and then start wrapping while it is still wet.

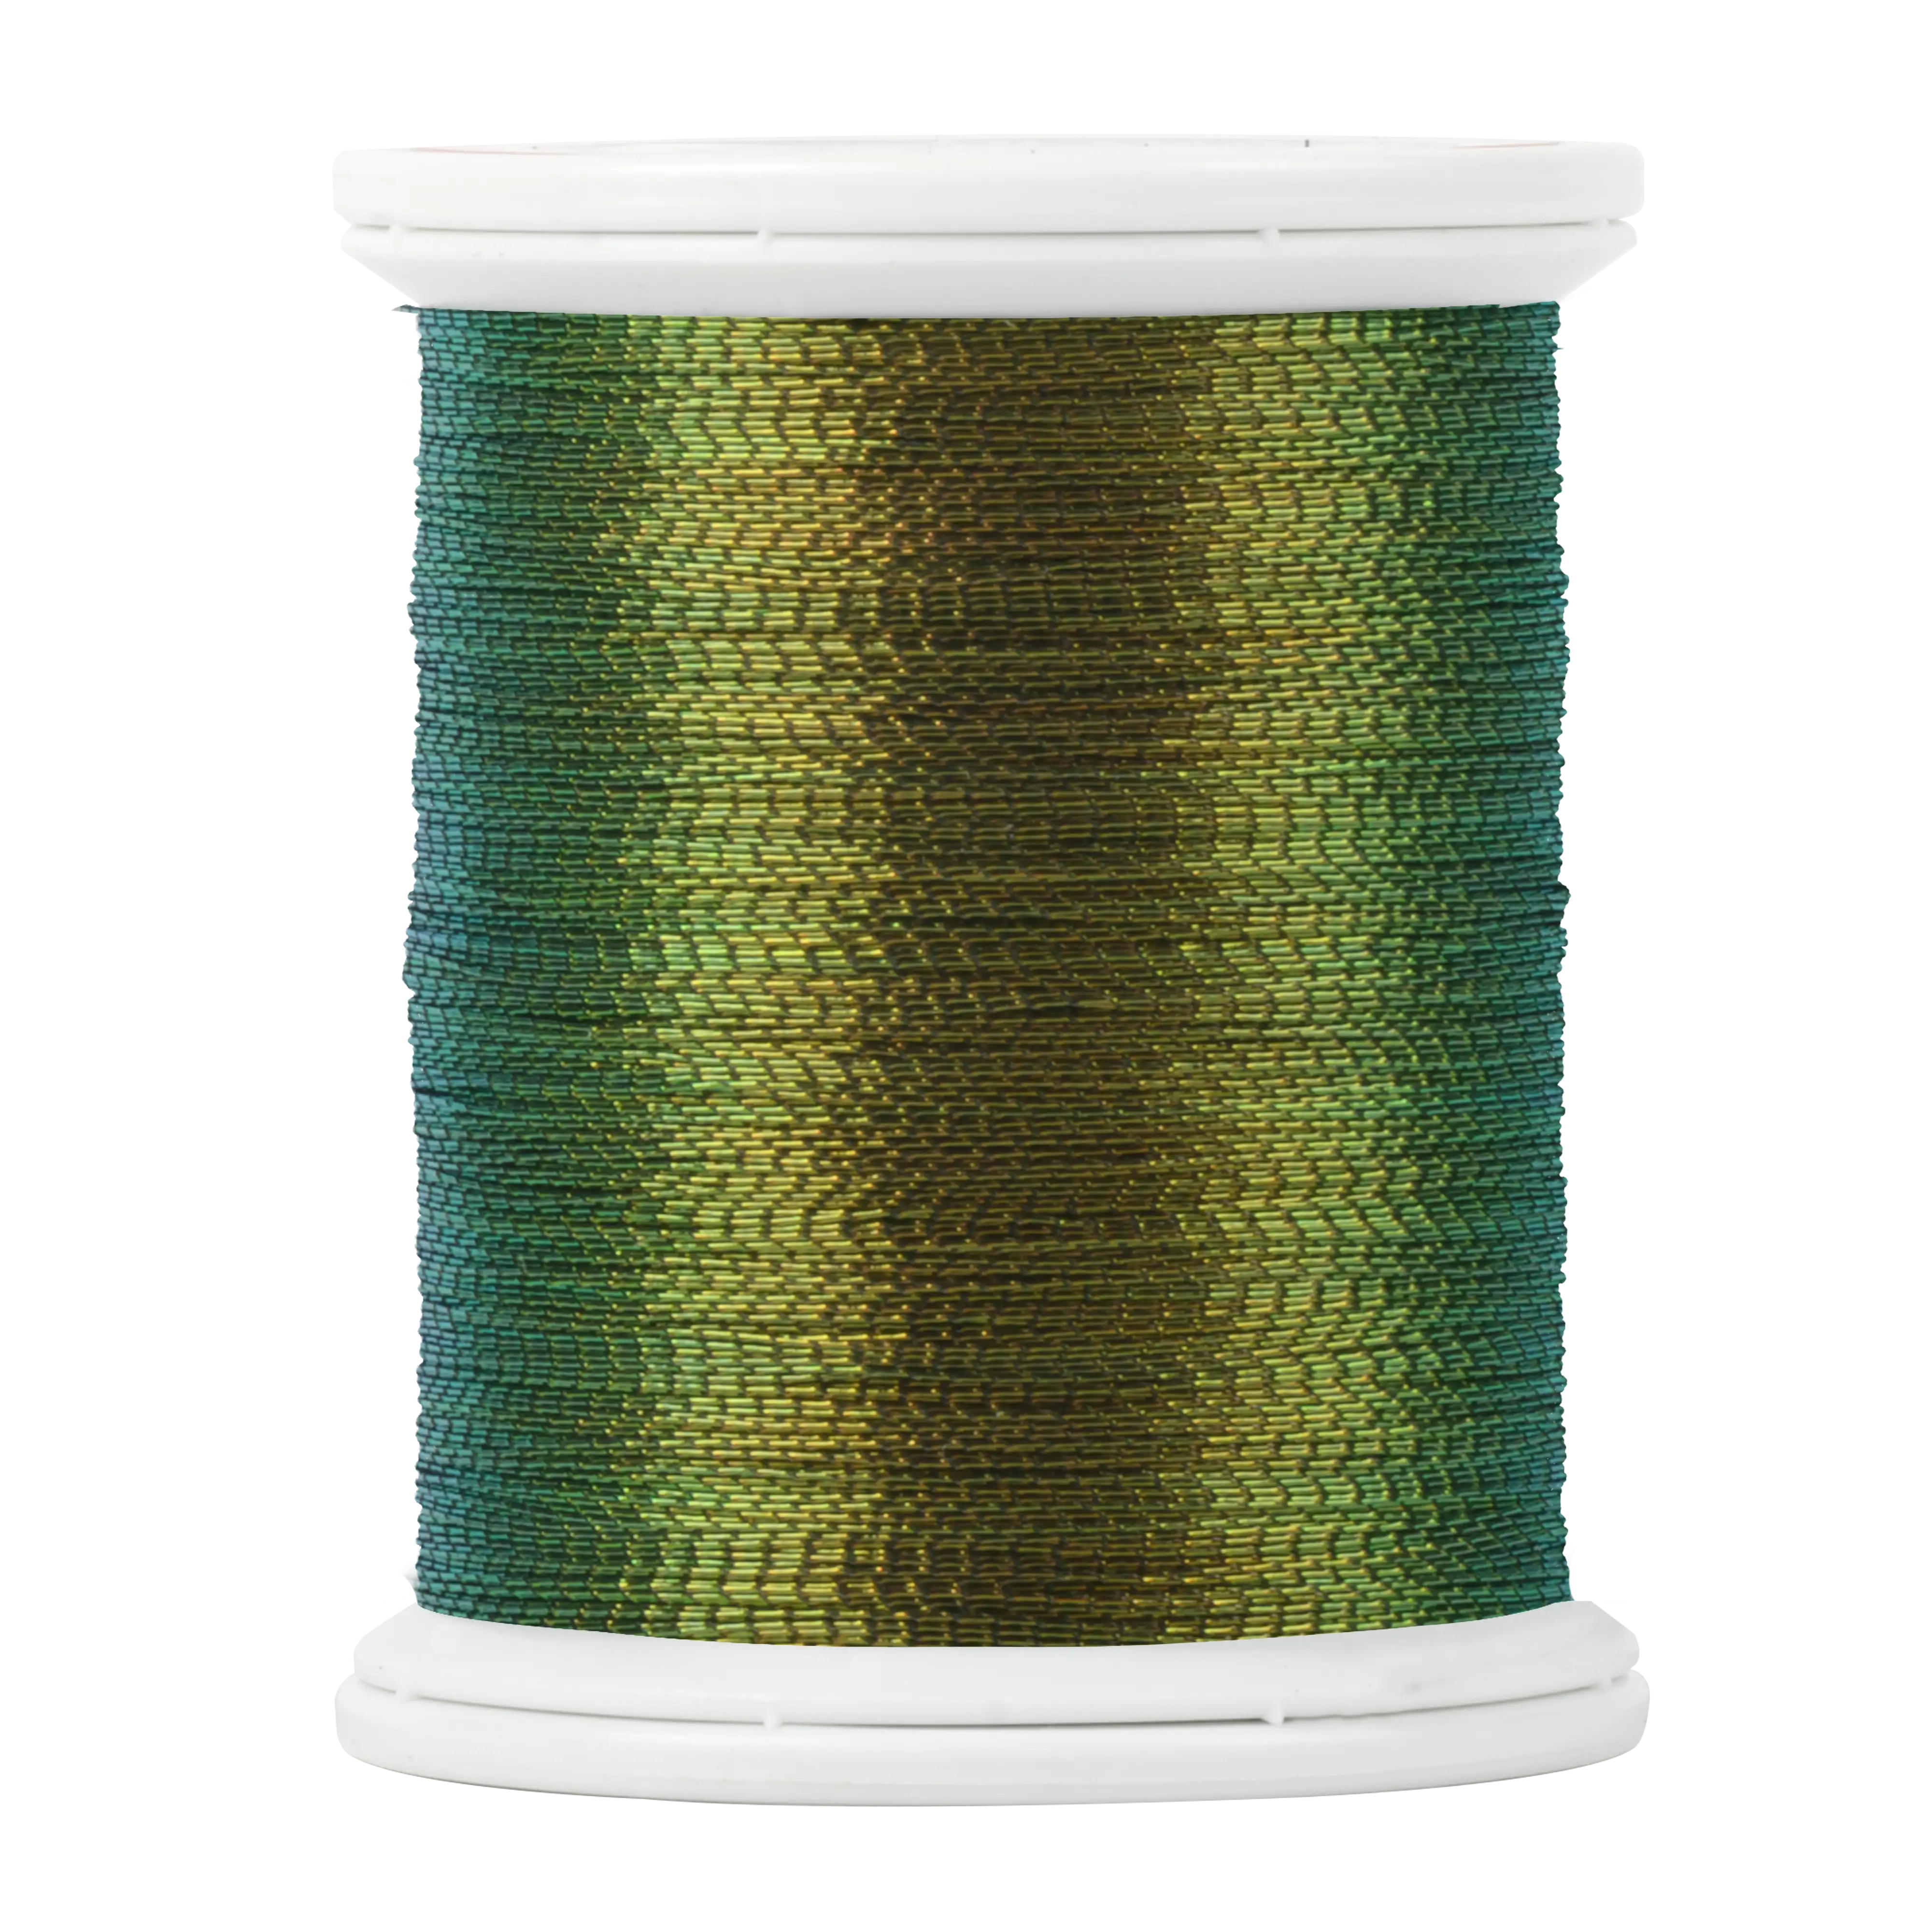
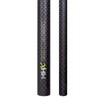
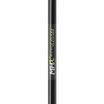
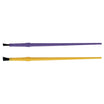
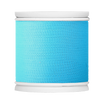
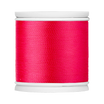
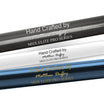
If you do not prefer to add a coat of finish before you wrap your guide wrap then you need to consider the size of thread you are using. We typically suggest to use Size A as your underwrap and Size D as your guide wrap. The reasoning behind the sizing change is the Size D will not dig into the Size A when wrapped over. Alternatively if you wrap A over D the Size A can dig inbetween the Size D threads causing it to not wrap as cleanly and cause unsightly spacing. I will use Size B underwrap and Size D overwrap but just because I like the blue I chose. The Colors are Prowrap RNS-D-862, ProWrap RNS-B-428 and Fuji 910 Metallic.
Wrap. Finish. Wrap. Finish
With that being said, you can also do what I do and just add finish to your underwraps before wrapping your guide. I do this for a couple reasons. First, I do not have to worry about thread sizing. I always like the way Size A or Size B pack tighter and burnish nicely so I use those sizes whenever I can. I feel like I get cleaner and more uniformed wraps with smaller thread sizes. Second, I do not have to worry about getting excessive amounts of finish around the braces on the guide. I can concentrate on applying clean finish lines on the guide wraps without needs to worry about adding finish on the underwraps.
Laying out an Underwrap
Before we start wrapping I recommend creating a road map for your underwraps. There are times where I want the underwrap to be different lengths depending on the decorative effect I am going for but for now, here is the basic starting point.

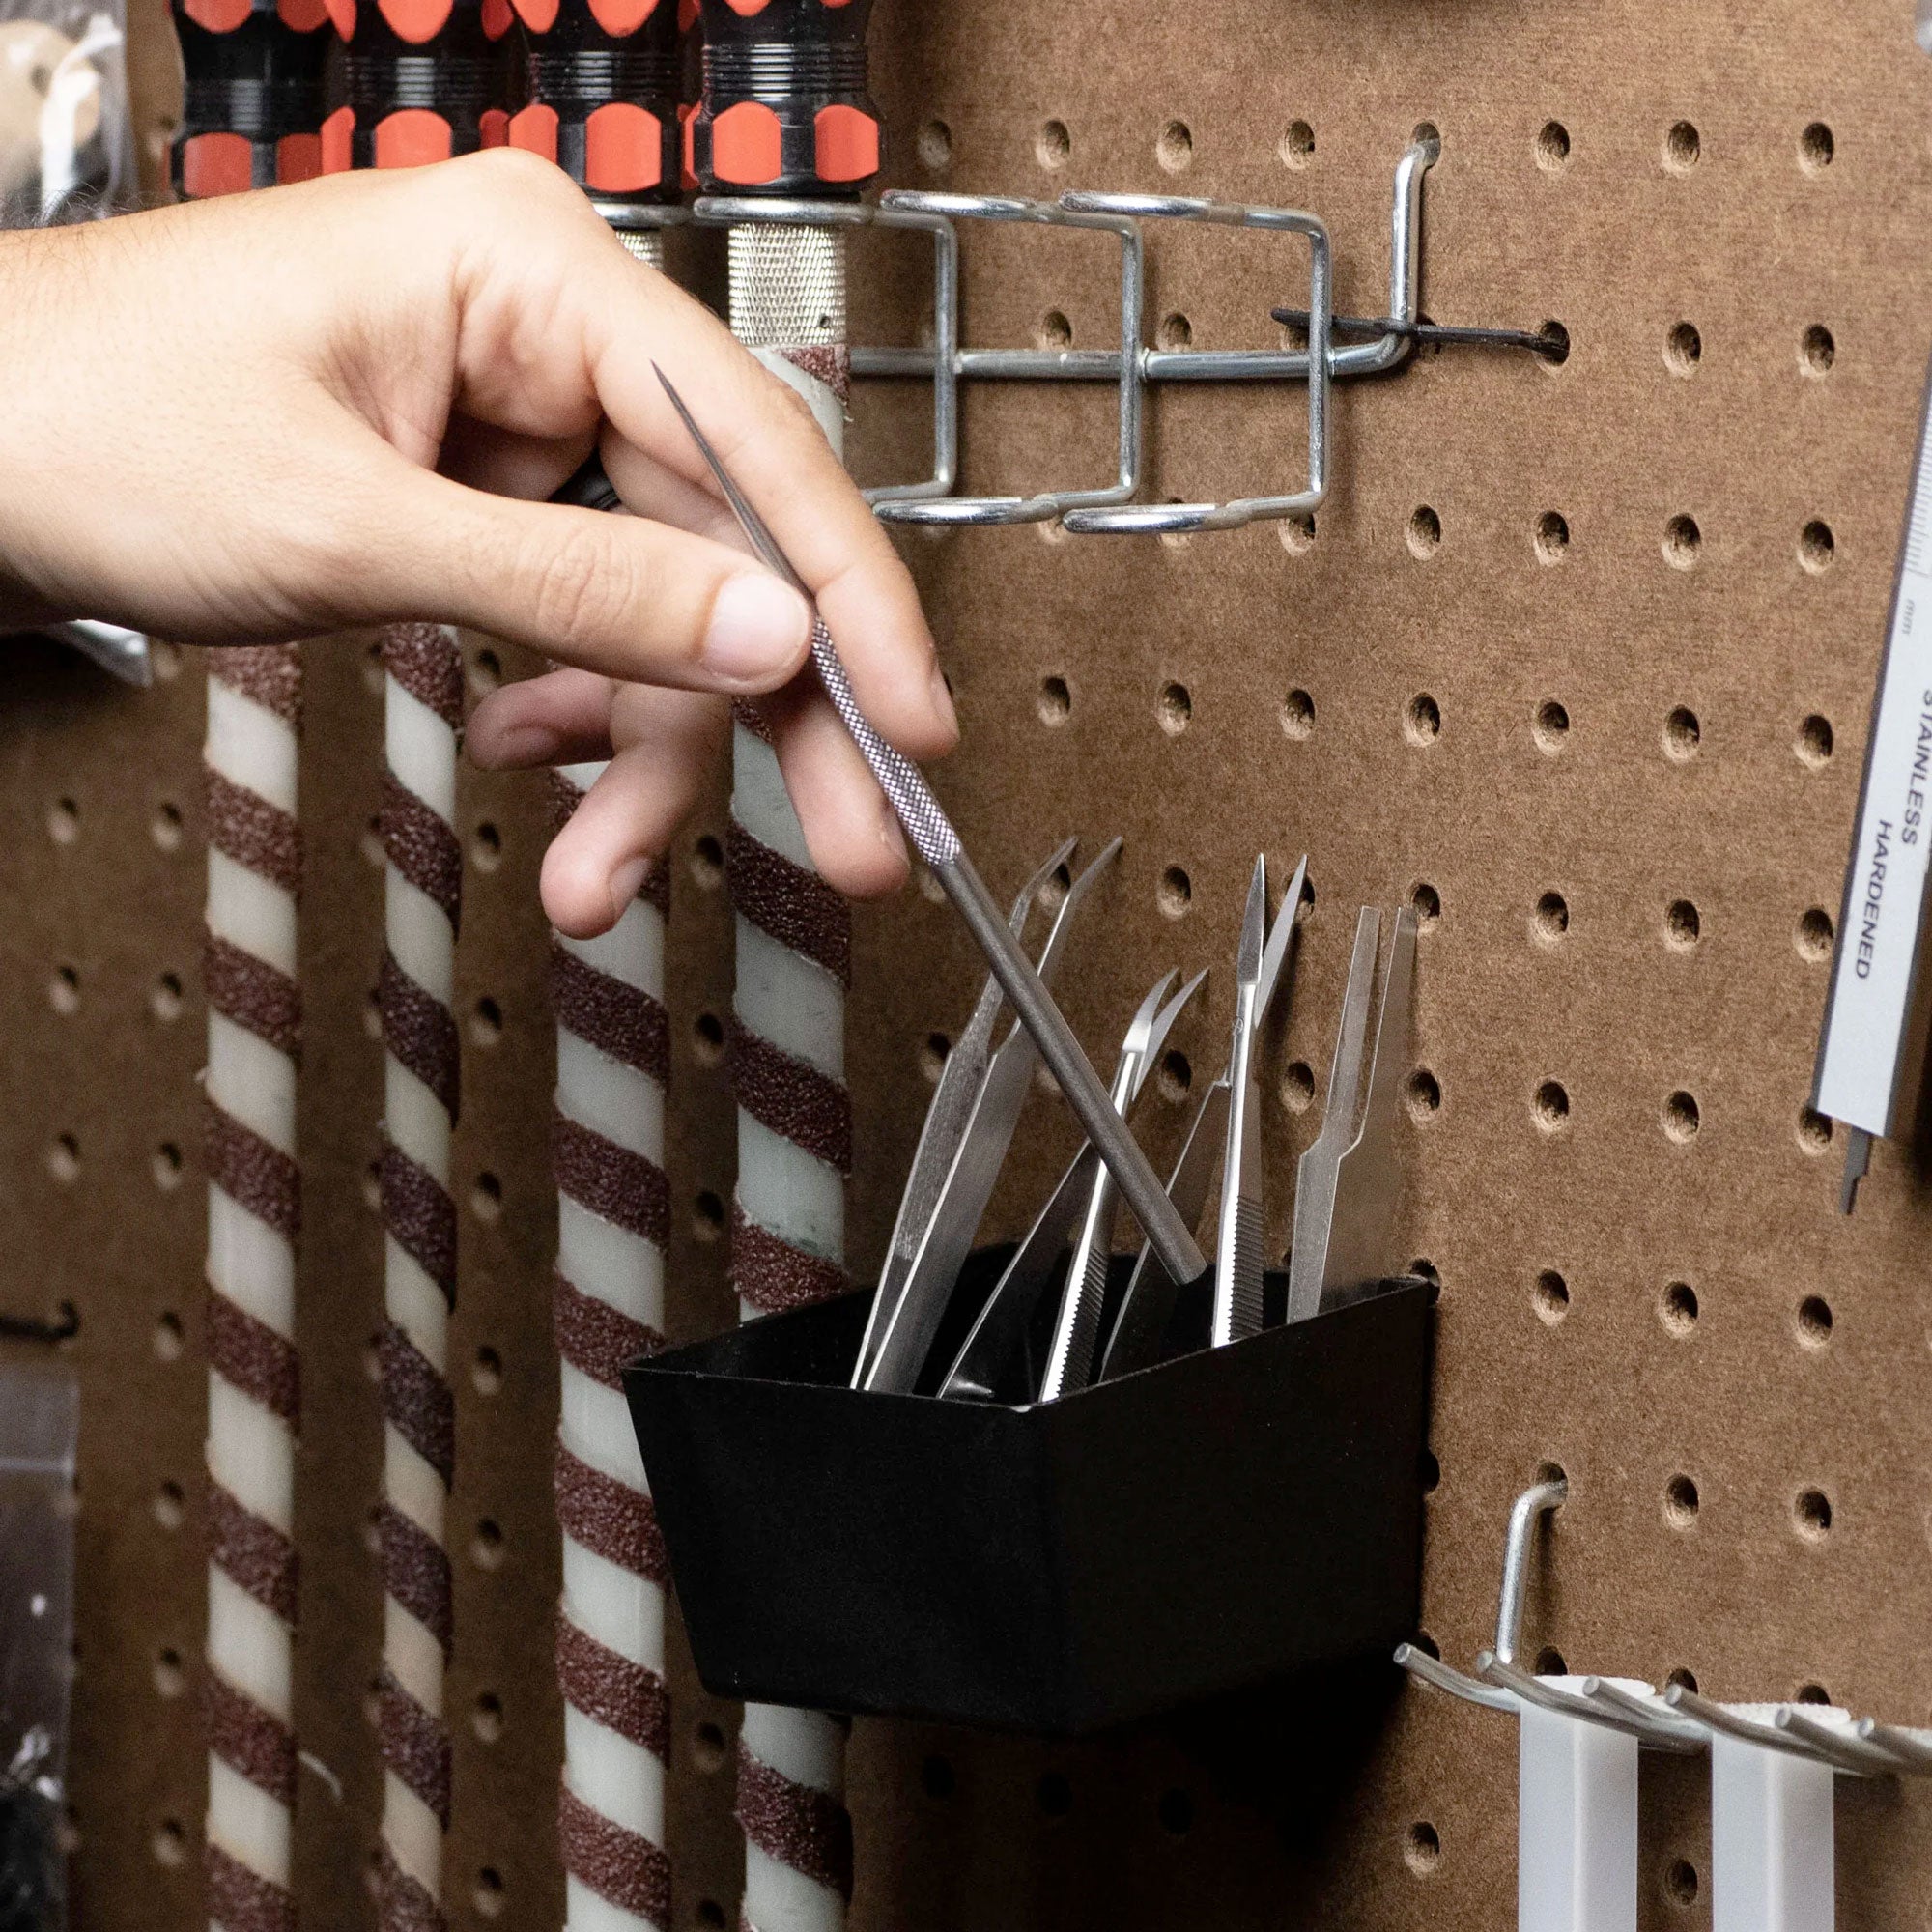
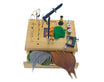
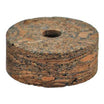
We want to create an underwrap that is just a touch longer than the span of the guide feet. So, I use my digital calipers to measure the length of the guide. I do not care the number value for the length, but I am using the digital calipers to hold the length and make it easier to mark on the blank. This is great when you are adding underwraps on all guides for saltwater rods where multiple guide are the same size. Exact, repeatable, underwraps for every guide.

Once you have measured your guide length, transfer that measurement to the rod blank. I prefer to use a sharpie or a fine tip marker to put my layout dots on my blank. It makes it easier if you must cut off the underwrap and redo as the marks will not come off as with china marks. Plus, you do not get the china marker residue in your thread wraps. I always cover my dots with thread and begin and end my wraps about two thread turns on the outside of the marks.

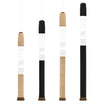
For a basic underwrap I want to be sure there are two or three turns of thread longer than the guide foot on each end so it creates a stair step effect. You do not want the guide foot hanging off the underwrap as it will be very difficult to jump from the rod blank up to the guide foot when it is suspended off the blank. We take time to prep our guide feet for an easy transition, let’s not mess that up with too short of an underwrap.

Time for a Guide Wrap
Now that your underwrap is complete, you need to decide if you wish to add finish first or continue wrapping. For the sake of this blog we will go ahead and wrap the guide. This also means I am using ProWrap RNS-B-428 as the underwrap and Prowrap RNS-D-862 as the guide wrap.

I begin my guide wrap directly on the rod blank and since I keep my wrap to a minimum, I start very close to my underwrap. There is no rule to how many wraps you will need but I suggest doing the same amount on one guide foot as you do the other and throughout the entire rod build. It just looks good. From here it is simple guide wraps just as you have done many times before. Then add finish and you are ready to fish.
Adding Decorative Thread
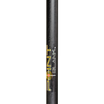
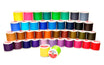
I will admit, I typically add some sort of thread inlay to my underwraps. Whether it is metallic accents, multiple colors or a unique trim band, I think it really draws the eye to the underwrap and that is why we build custom rods, right?

When creating a road map for a center band in your underwrap, I simply add a center dot to give me an idea when to transition from on color to the next. For the sake of this blog I am actually going to terminate the first thread wrap and add in the second thread color. This is how I typically do it as it helps me keep everything packed tightly. I want to show this method so you do not feel like you must do a fancy thread transition. Just stop one and start the next, it is that easy.

I also want to note, as I am adding in the middle block of thread I check the length of the first color I laid down so that once I like the length of the middle block I can repeat the exact length of the first color so keep it uniform. Just another instant where the digital caliper is a vital part of perfecting underwraps.

Once I have the under wrap complete, I check the guide on top of the wrap. I ensure the length is correct. If so, I can continue to the guide wrap.

Underwrap and Trim Band in One
For those that are paying close attention, you will notice I left a little extra length of thread outside the guide feet than I did before. I wanted to show that you can use the underwrap to also create trim bands outside your guide wraps, so you do not need to come back and add short trim bands after you have finished the guide wrap. It is a clean and more efficient way to have thin trim bands using the same color as your underwrap.

If you wish to use the underwrap as a trim band, start your guide wrap directly on top of your underwrap. As I mentioned before, I try to keep my thread wraps to a minimum, so I keep my trim band short which keeps my guide wrap short. From here you just wrap your guide as normal and use the same number of wraps on the front foot as the back to keep it uniform. The underwrap trim band technique might take a few tries to get right but it does look excellent once finished.
Now that you have the basics of underwraps, I will leave you with some images of unique underwraps to help with creative inspiration.


Congratulations if you made it to the end while following along with a cold drink.
