


Fishing and making lasting memories go hand and hand. Many of us cannot tell you what we ate for lunch yesterday but take us back to our childhood fishery and we can recall all our catches!
I remember my first baitcaster like it was yesterday. The rod was a 6 foot lew’s speed stick with a pistol grip handle and the reel was an Abu Garcia Ambassadeur 5000. Although fishing tackle has come a long way in the last 40 years we can’t help to be drawn back to the nostalgia of our early experiences with this great sport.
So, rather than hunt garage sales and auction sites for a classic, why not recreate your own. With improvements in reel seats, blanks and handle material it is possible to relive those fond memories but with 2025 technology.
Before you tackle this pistol grip, we have a few tips to help you along the way.
Materials

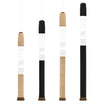
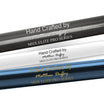
What are the options? American Tackle has a great classic 5 inch pistol grip in both Super Grade Cork and Black EVA material. Both give a classic look and feel but each needs to be treated somewhat different when building this handle.
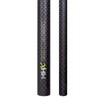
EVA Pistol Grip
Lets start simple with the EVA.

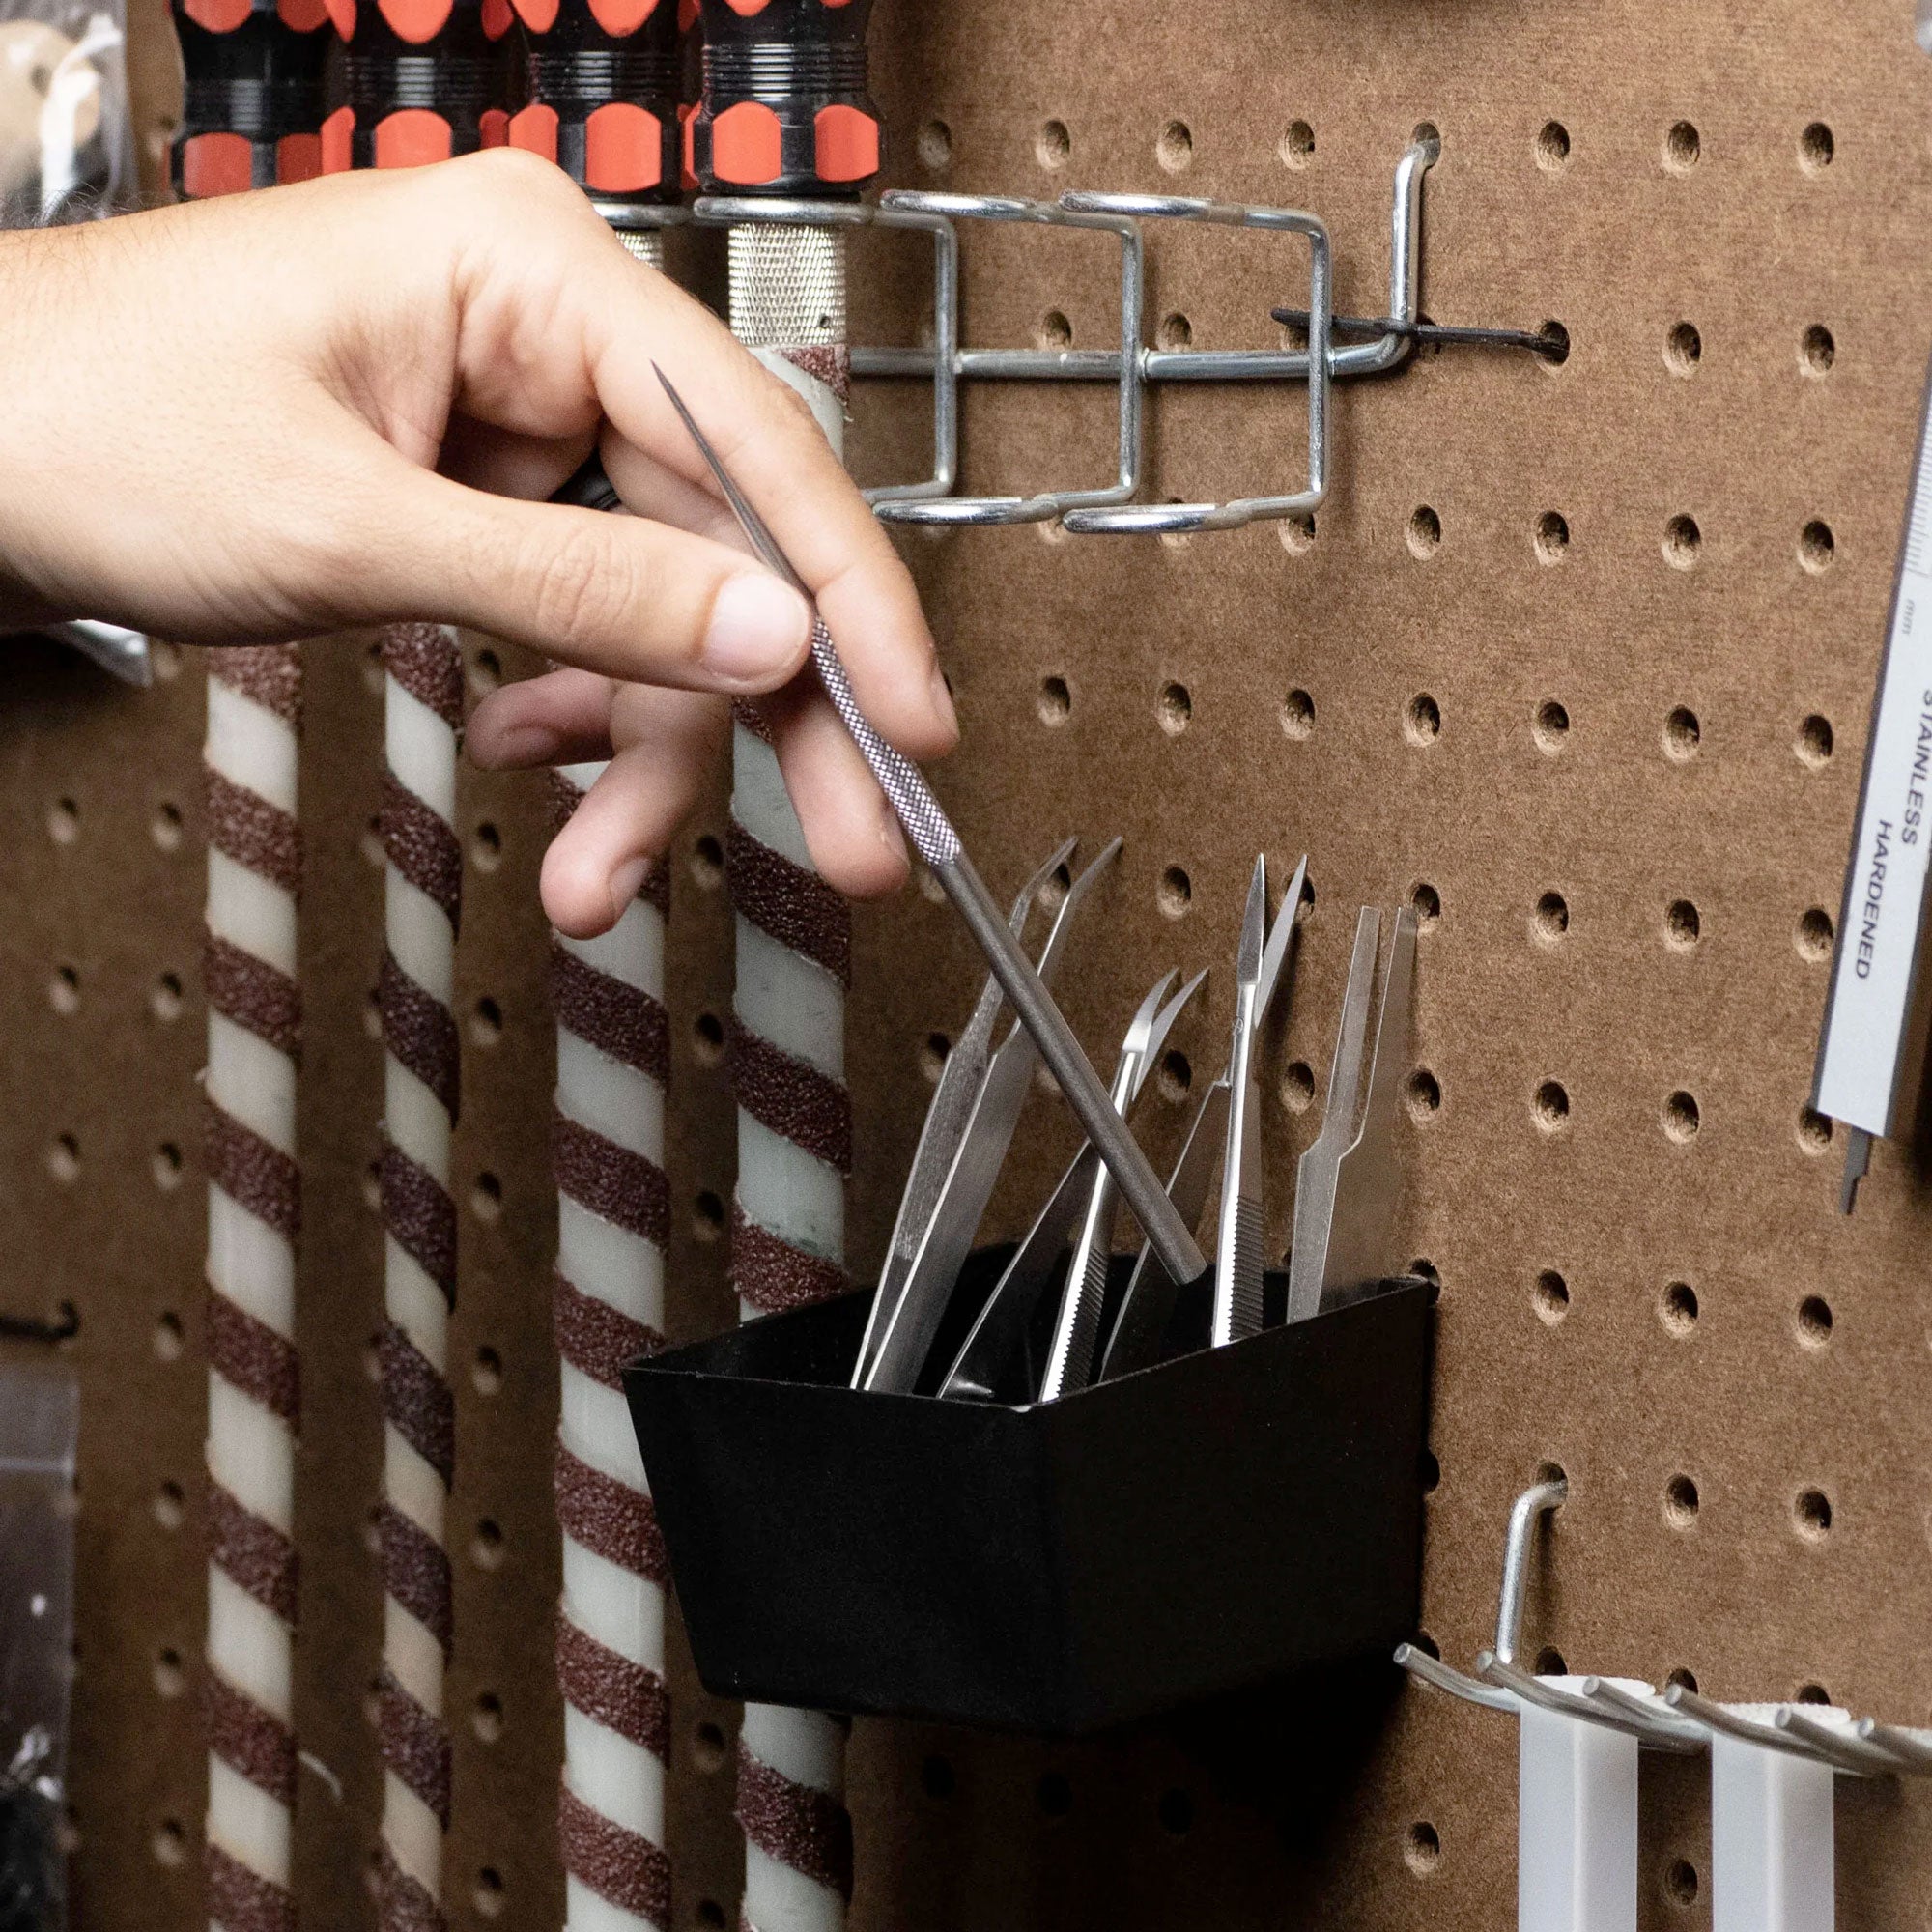
As most will ask, how do you ream this grip when it has a closed butt end. Well, most will remember from previous blogs I do have a pretty good collection of drill bits in the toolbox for times like these.
Do not start drilling just yet.
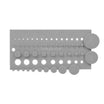
Here is a great CAD file showing the measurements you will be working with as you build out this handle. One edit is this shows the .250" for the cork ID but keep in mind the EVA has a .375".

Plus, you will see I always keep my digital calipers close by when working with any grips that have a closed end.
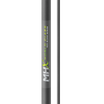
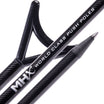
First, I will measure the butt diameter of the rod blank and this 6'6" NEPS78MXF is showing .469" OD. I have both a 7/16" and 1/2" drill bit on hand but since EVA will stretch a little I decided to use the 7/16".
![]()
Next, I will check the depth of the EVA grip. You can do this with your digital calipers as it has a depth gauge that comes from the end of the caliper as the jaws are opened. Yes, I know I provided the CAD file but I always double check each grip since I can not see the bottom and wish to minimize mistakes.

Here you can see the depth is a smidge over 4.5" and it just so happens the length of the drill bit I am using is about 4.5" long as well. Many of the bits I have that are larger than .375" will be this long so it should not be hard to find at your local hardware store. This allows me to drill down to the end of the bit without risking going too deep or pushing through the other side. I will show how to use tape to mark your depth when doing the cork grip later.
Once you have the right size drill bit and proper depth, you can drill. I just use a hand drill but for those that have a drill press, you can use that as well. Keep in mind if you have a blank with a very drastic taper you might have to add a slight arbor to the front of the grip but most blanks do not begin to taper that quickly.
Cork Pistol Grip
Although the cork can be slightly trickier, we have a couple suggestions to help.
Can't you just do the exact same procedure as with the EVA pistol grip? Yes, you can. The only caveat is you will be starting with a .250" ID, so drilling into that with a 7/16" bit can strike fear in new builders. Do not worry, you can use a mix of the extreme reamers to start and open the inner diameter to a close match of the 7/16" bit before drilling. 
Is there another option that will provide a tighter tolerance fit? Yes, but it might seem a little unconventional.
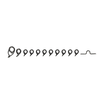
The look on most people's face when I say, "just snap the grip", is always the same. Confusion mixed with a little shock. Why would you break a perfectly good cork grip? Well, if you do not mount the cork pistol grip properly, it will just snap off anyway, so better to do it right the first time.
Yes, I do understand I am exaggerating slightly but in all seriousness, I do break my cork grips for this pistol grip application as well as a Tennessee handle. The reasoning behind breaking it rather than cutting it is I believe the jagged edges fit back together like a perfect puzzle and the seam is virtually invisible. Second, unless you have a full workshop with a power saw that can cut a perfect flush cut, it can give you a headache when trying to match it back perfectly with two smooth sides. The puzzle piece affect with the cork voids mates up nicely and fools the eye as well.

For the mix of drilling and reaming the cork, I check the depth of the handle that I broke off and match it on my drill bit to create a tape mark that is the "do not drill past" guide. We have made it this far and the last thing we need is to go right through the end of the grip. Full disclosure; it is harder than you think to just accidentally drill through the end of the grip. Yes, the drill bit will want to grab the side as it cuts to the bottom but since you are not applying much pressure, it will not bite into the bottom of the hole.
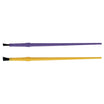
Be aware you might need to make slight corrections with the drill bit or reamer if you created an angle but just dry fit the butt of the cork and then you will use your extreme reamers to size the other part of the pistol grip.

As you have heard me repeat over and over, dry fit and then ream. Do that over and over. Do not force anything as you do not want to break off any extra pieces of cork that will hinder your puzzle piece affect. Remember you can always add a wrap or two of tape that will act like an arbor under your cork grip if necessary. Once we have everything reamed and dry fit properly we can move onto gluing the handle section.
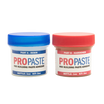
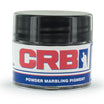
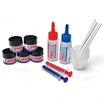
When we apply the ProPaste epoxy we need to be sure that all surfaces are coated but not in excess. Be sure there is epoxy in the butt end as well as on each side of the broken cork faces. If you add too much epoxy at this point your "puzzle" might not fit together as tightly as you would like. Remember you will be adding epoxy on the rod blank to glue the grip to the blank so, as that slides down it will gather on the bottom of the broken piece. As you slide the top part into place, pin the grip to fully coat and then push together.

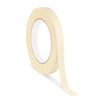
I always clean up the cork with isopropyl alcohol completely and add masking tape very tightly to support a strong hold. The pieces fit together nicely but you do not want to accidentally knock them off line or have them move as the ProPaste cures.
I know what you are thinking but no, that is not a new or photoshopped cork grip. That is the ones that was broken. With a little care it will fit together that good and you will never see the fracture.
Just as a backup plan if you can't seem to get your dry fitting to line up properly on the blank but you can when it is off the blank. That is caused by a misaligned section of the grip. Either the end is crooked or the barrel section is reamed off center. No not worry or trash the grip. The good news is you have an almost perfectly bored hole to the very bottom of this grip. Glue the two pieces back together taking care to not add too much epoxy and then clean, tape and allow to cure. once cured used the 7/16" drill bit to lightly shape the inner bore straight. You will be surprised that just a tiny bit off can be fixed once the grip is cured. Then, just glue from the butt end the same you completed the EVA pistol grip above. You won't ever have a problem where the cork snaps off your handle!
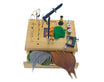
Rod Recipe Coming Soon

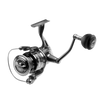
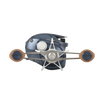
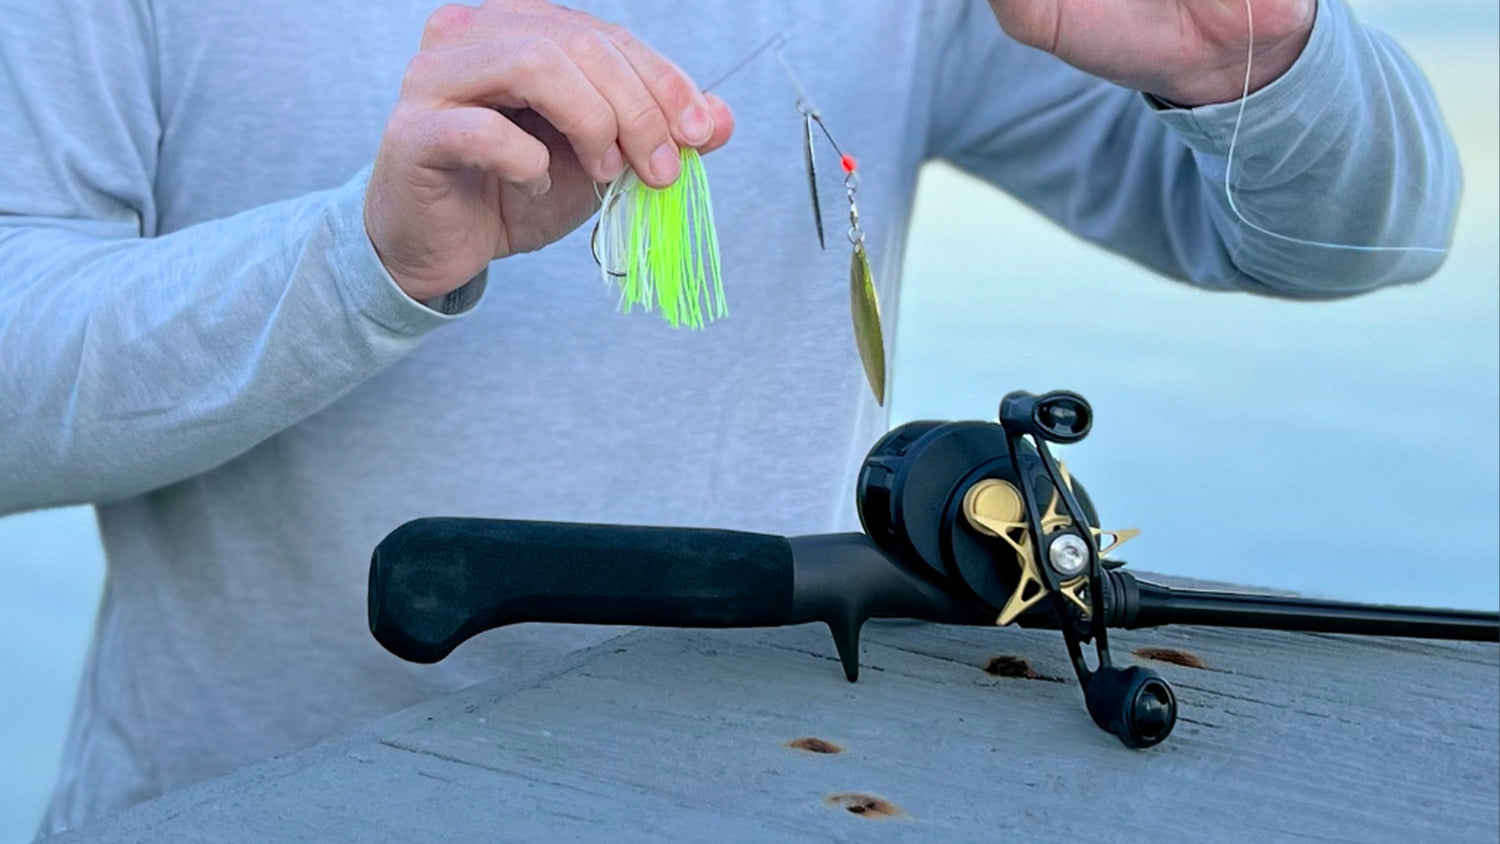
This will technically be a intro into a full rod recipe using the American Tackle Pistol Grip, NEPS78MXF MHX Blank and will be matching it with the Bates OG Round reel to make it authentic but modern.
